Creating an API without the backend service on Azure


In week 4 of the Side hustle bootcamp, we were required to create an API within the API Management Service in Azure.
An API (Application Programming Interface) is a software intermediary that enables two or more computer programs or software components to communicate with each other. It is a type of software interface that offers services to other pieces of software.
The API Management Service is a hybrid multicloud management platform for managing APIs across all environments.
Steps Taken to implement this project:
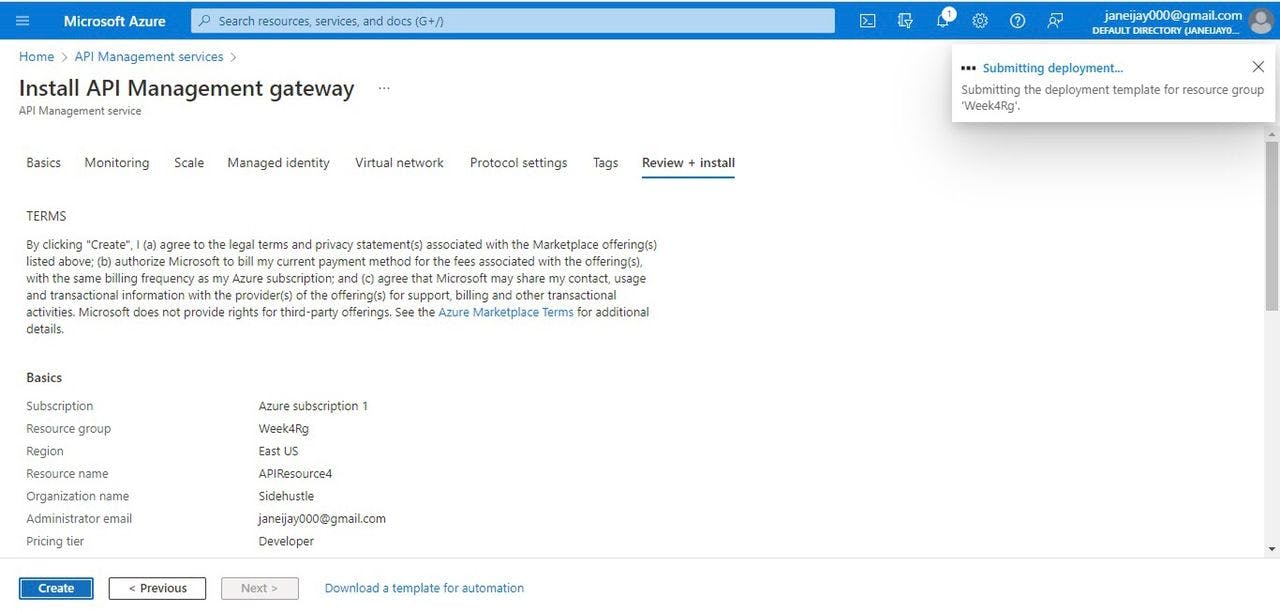
1. Create an API Management Service. In the Azure portal, click on ‘create a resource’, then select API Management. Enter the information required, then ‘review and create’.
2. Create the API. By the left menu bar in the API Management Instance, Select APIs, Add API and click on HTTP to create an HTTP (blank) API that would be manually defined. Enter ‘Job’ for the display name and ‘jobs’ for the API URL suffix. Select ‘Unlimited’ for products, and then create.
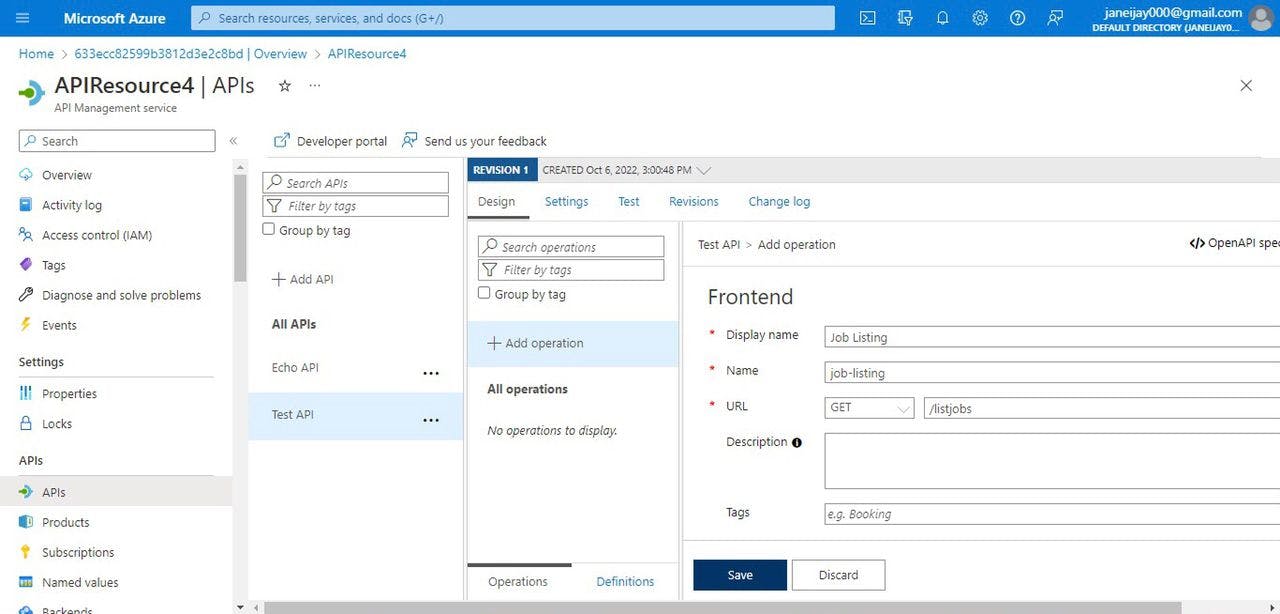
3. Add an operation to the API To add an operation to the API, select the Job API created in the previous step. In the Frontend window, enter the display name: ‘job listing’ with a HTTP schema: ‘GET’ and resource: ‘/listjobs’
4. Provide a query parameter that the API would return. To provide a query parameter, select the query tab located under the frontend window and enter the following information: Name: Job type Description: Indicates the job type Type: “string”. Mark as required.
5. Add a Response. To add a response, select the responses tab. Click on ‘Add response’ and select ‘200 OK’ from the dropdown.
6. Add a Representation. Under the Representation heading on the right, click on ‘Add representation’. Under ‘content type’, enter ‘application/json’.
7. Add a Definition. Still under the Representation heading, select definition. Give it a name: Job list. Then type in the Sample JSON code.
[{
    “name” : “azure”,
     “role” : “administrator”,
     “price” : 250
}]
Then click on the save button.
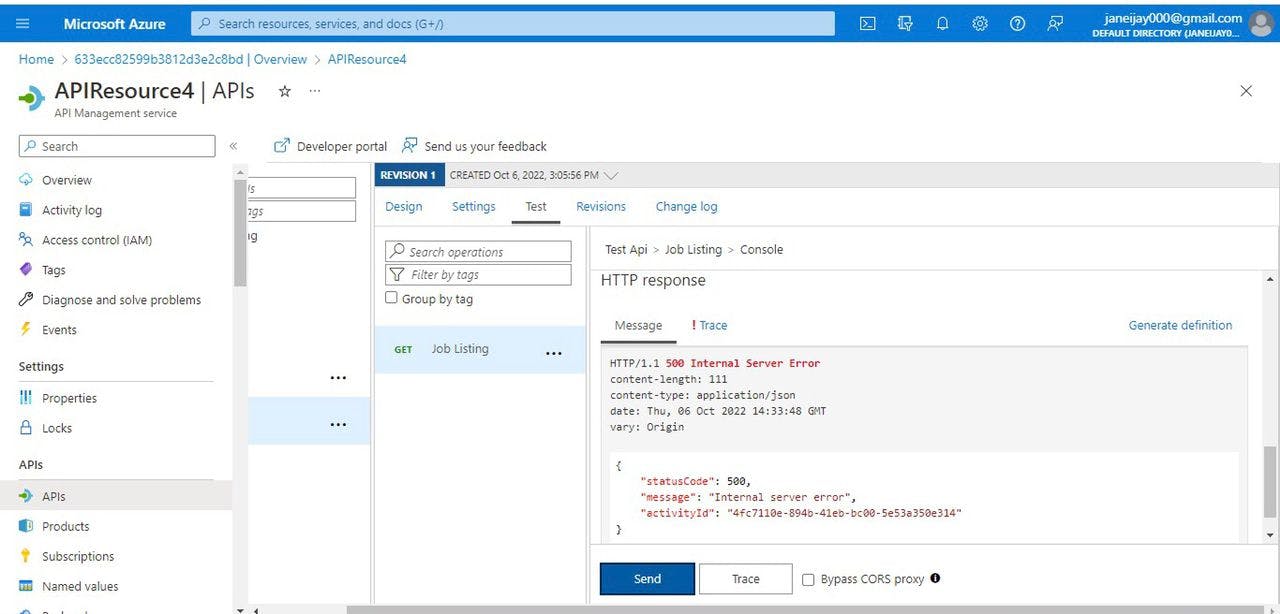
8. Run a test for the API from the test console. To run a test for the API, first ensure that the API is selected then click on test to view the test console. In the test console, under the Query Parameter heading, type ‘test’ in the value textbox. Then click on ‘send’ to run the test. This would return a “500 Internal Server Error”.
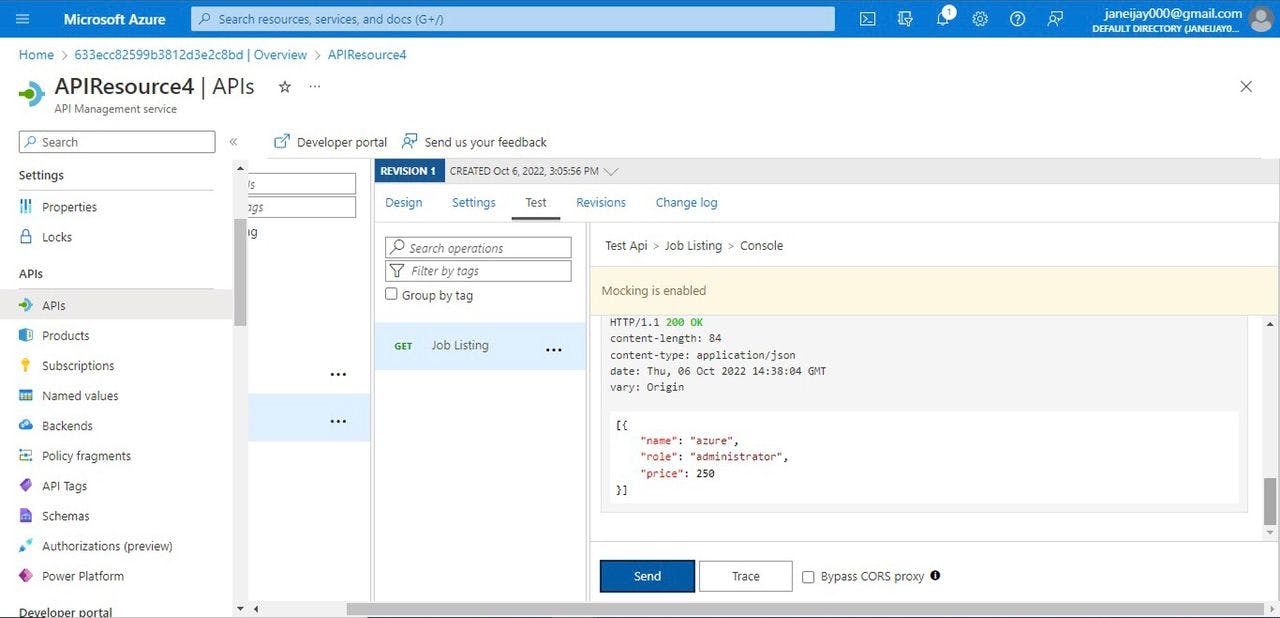
9. Enable Response Mocking. To enable response mocking, select the design tab, then select the operation that was added. In the Inbound Processing window, select ‘Add policy’. Then click on ‘Mock responses’ from the gallery. In the API Management Response textbox, type “200 OK, application/json”. This indicates that your API should return the response sample you defined.
Click ‘save’ and then run the test again. This should return a “200 OK” and the HTTP response also displays the JSON provided as a sample in the previous section.
In conclusion, we successfully created an API in Azure within the API Management Service. The API management service helps organizations to publish APIs to external, partner, and internal developers to unlock the potential of their data and services.